
CO2 and O2 Training Tables for Freedivers: How to Build Breath-Hold Safely
- Bret Whitman

- Apr 27
- 8 min read

Every diver who has ever pushed for one more second on the bottom knows the feeling — the diaphragm contraction, the burn in the chest, the urge to breathe. That signal is not your body running out of oxygen. It is your body reacting to rising CO2. Learning to manage that signal is the single biggest unlock for longer, calmer, more productive hunting dives. CO2 and O2 tables are the structured method freedivers have used for decades to train exactly that.
This guide breaks down what CO2 and O2 tables actually train, how to build them, sample protocols you can run today, the safety rules that are non-negotiable, and how the work translates to bottom time on hunting dives. If you have never done table work before, read this start to finish — and then go take a certified freediving course before you push hard on any of it.
What Tables Are and Why They Work
A table is a structured series of breath holds with planned rest intervals between them. You do them on dry land — sitting in a chair, lying on a couch, or in a stationary, supervised pool setting. The structure of the table determines what physiological adaptation you are training. Change the structure, you change the stimulus.
Tables work because the body adapts to repeated, controlled exposure. CO2 tables expose you to progressively higher levels of CO2 across a session. O2 tables expose you to progressively lower oxygen saturation. Done correctly and consistently, your tolerance to both improves, your urge-to-breathe arrives later, and your ability to stay calm during contractions becomes second nature.
Tables are not cardio. They are not a workout in the traditional sense. They are a controlled, low-heart-rate exposure protocol. If you treat them like a fitness session — sweating, pushing, grinding — you are doing them wrong and you are increasing your risk.
What CO2 Tables Train
CO2 tables train your tolerance to CO2 buildup. As you hold your breath, your body produces carbon dioxide as a byproduct of metabolism. Rising CO2 is what triggers the urge-to-breathe signal — the contractions, the burn, the mental noise telling you to come up. CO2 tolerance is largely a trainable response.
What CO2 tables build, in practical terms:
Tolerance to elevated CO2 levels, so the urge-to-breathe arrives later. Mental discipline to remain calm and still through early contractions. The ability to recognize a contraction as a signal — not an emergency — and continue the dive.
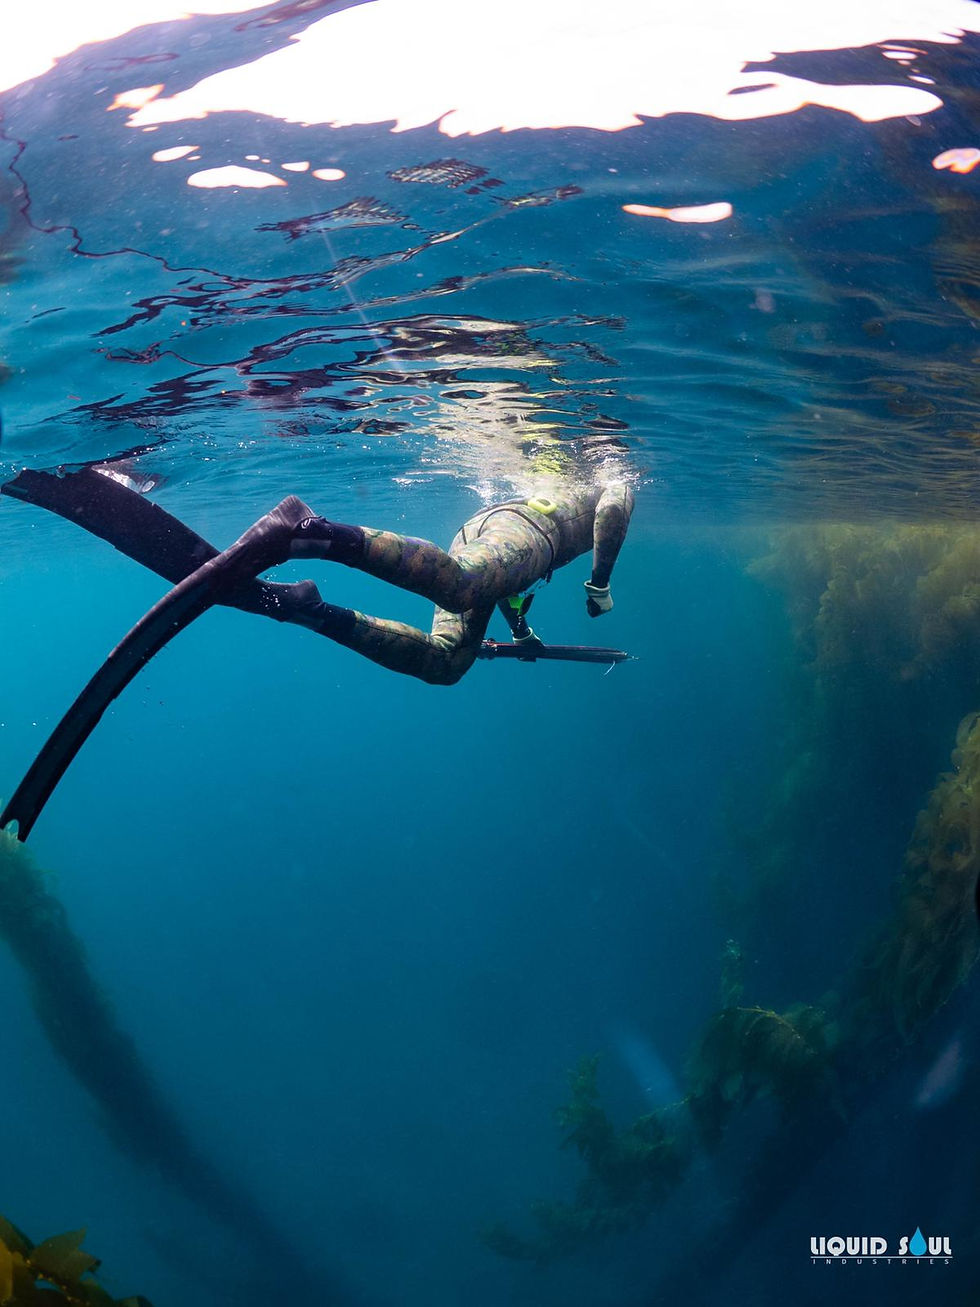
Important: CO2 tables do NOT directly train oxygen tolerance. They train the urge-to-breathe response, which is driven by CO2, not low O2. This is why CO2 tables are generally the safer of the two protocols — you stop the hold before you ever approach blackout territory. For spearfishing, CO2 work is arguably the highest-leverage training a diver can do. The diver who can ignore early contractions and stay still on the bottom has a longer hunt and a much better chance of intercepting a fish that comes in cautiously.
What O2 Tables Train
O2 tables train tolerance to oxygen depletion. Where CO2 tables stop short of low-oxygen territory, O2 tables deliberately push you toward it. Each rep starts with a slightly lower baseline oxygen saturation than the last, because the rest interval has been shortened. By the final reps of an O2 table, you are starting holds with depleted oxygen reserves.
Done correctly, this teaches your body to engage the mammalian dive reflex more efficiently — heart rate drops, peripheral vasoconstriction kicks in, and your brain prioritizes oxygen for vital organs. Done incorrectly, this is how people black out.
O2 tables carry a higher risk profile than CO2 tables. You are by design moving toward the edge of your oxygen reserves. They should only be done with a trained spotter, on dry land or in a supervised pool, never alone, and never in open water. If you are early in your freediving training, focus on CO2 tables and basic relaxation work first. O2 tables come later, under instruction.
How Tables Are Structured
Both tables share the same basic format: a sequence of breath holds, usually around eight reps, with planned rest intervals. What changes is which variable is held constant and which is manipulated.
CO2 table structure: holds get progressively LONGER while rest intervals stay the same (or shrink slightly). The mechanism is that you do not fully clear CO2 between holds, so it accumulates across the session — each rep starts at a higher baseline CO2 level than the last.
O2 table structure: holds stay the same length while rest intervals get progressively SHORTER. The mechanism is that with less recovery between holds, oxygen does not fully replenish. Each rep starts at a lower baseline oxygen level than the last.
Sample CO2 Table for an Intermediate Diver
This sample assumes a comfortable max breath hold of around 2:00 minutes. Scale the numbers to your own ability. The key is the structure — holds increase, rest intervals decrease.
Rep 1: Hold 1:30, rest 2:00
Rep 2: Hold 1:35, rest 1:55
Rep 3: Hold 1:40, rest 1:50
Rep 4: Hold 1:45, rest 1:45
Rep 5: Hold 1:50, rest 1:40
Rep 6: Hold 1:55, rest 1:35
Rep 7: Hold 2:00, rest 1:30
Rep 8: Hold 2:00, rest 1:25
Adjust the numbers based on your personal max. A diver with a 1:30 max should scale down accordingly. A diver with a 3:00 max can scale up. The structure stays the same.
Sample O2 Table for an Intermediate Diver
Same baseline assumption — comfortable max around 2:00. Holds stay constant at 1:30. Intervals shrink each rep.
Rep 1: Hold 1:30, rest 2:30
Rep 2: Hold 1:30, rest 2:00
Rep 3: Hold 1:30, rest 1:30
Rep 4: Hold 1:30, rest 1:00
Rep 5: Hold 1:30, rest 0:45
Rep 6: Hold 1:30, rest 0:30
Notice how the holds stay locked at 1:30 while the recovery shrinks dramatically. By rep five or six, you are starting holds with much less reserve than rep one — and that is the entire point. This is also why this protocol demands a spotter and is not something you do casually or in water unsupervised.
Safety Rules — Non-Negotiable
Read this section twice. People die from improperly executed table work, almost always because they did it alone in water.
Always do tables on dry land OR in a pool with a trained spotter. The dry land option — sitting in a chair, lying on the floor — is by far the safest and is where most divers should start.
Never alone in water. Ever. Shallow water blackout is a real and well-documented risk, and it does not give warning. A diver who blacks out face-down in water without a spotter will drown.
Never face-down in water unsupervised. This includes pool laps, static holds in a bathtub, anything where your airway could be blocked if you lose consciousness.
Tables are NOT cardio fitness training. Keep your heart rate low. The whole point is conditioning your body to relax and conserve oxygen, not raise your pulse.
Never combine table work with hyperventilation. Hyperventilation lowers your CO2 baseline, which delays the urge-to-breathe signal and lets you push closer to blackout without warning. It defeats the entire purpose of the training and adds significant danger.
Stop the session immediately if you feel any symptoms of pre-blackout: samba (rhythmic muscle twitching), tunnel vision, flashing lights, ringing in the ears, sudden disorientation. These are warning signs that you are too close to the edge.
If you have a spotter, brief them on what to watch for: shaking or twitching, sudden loss of muscle tone, lip color changing toward blue or gray, eyes rolling, slow or absent response to a tap. A trained freediving spotter knows how to intervene and recover a diver — that is exactly the point of having one.
For a thorough breakdown of freediving and breath-hold safety protocols, see freedivingsafety.com — read it before your first session, not after.
Frequency and Progression
Two to three sessions per week is the sweet spot for most divers. Alternate CO2 days and O2 days. Take rest days seriously — adaptation happens between sessions, not during them.
A reasonable weekly structure: Monday CO2 table, Tuesday rest, Wednesday O2 table (with spotter), Thursday rest, Friday CO2 table, weekend off or in the water. Adjust to fit your life.
Build slowly. Increase hold times by 5 to 10 seconds week over week — not within a single session. Trying to add 30 seconds to your hold in one workout is how you blow out a session, scare yourself, or worse.
Plateaus are normal. Most divers hit a wall around 4 to 6 weeks. The answer is not to push harder or to start hyperventilating — it is to change the stimulus. Switch the table structure, change the rep count, take a deload week, focus on relaxation drills. The body adapts to whatever you do consistently, so consistency itself can become the limiting factor.
Apps That Help

Trying to manually time eight reps with shrinking intervals while you are also trying to relax is a setup for failure. Use a dedicated app. STAmina is one of the most popular freediving table apps. Apnea Trainer is my favorite. It is free, and offers both preset and custom tables. Subsurface freediving timer is another solid option. Pick one, learn it, stop fiddling with your phone mid-session.
Common Mistakes
Doing tables before training basic relaxation. If you cannot relax through a 1:00 static hold, doing a CO2 table is mostly noise. Master diaphragmatic breathing and a calm relaxation phase first.
Hyperventilating between holds. Already covered above, but worth repeating — it strips out the CO2 you are trying to train tolerance to, and it is dangerous. Slow, normal breathing during rest intervals.
Pushing too hard on early reps. The first reps of the table should feel almost easy. If you are grinding through rep two, you have nothing left for rep eight. Pace the session.
Doing tables in water alone. This can kill you. Not might — can. Shallow water blackout has no warning signal, and there is no recovery if no one is watching.
Skipping rest days. The adaptation happens during recovery, not during the session. Daily table work is not faster progress — it is slower progress with more risk.
How Tables Translate to In-Water Performance
Within four to six weeks of consistent table work, most divers see a 20 to 30 percent increase in comfortable breath-hold times. That number assumes proper protocol — two to three sessions per week, alternating tables, real rest days, no hyperventilation, no pushing.
On hunting dives, the gain shows up in two specific places. First, bottom time extends because the urge-to-breathe arrives later. The diver who used to bail at 0:45 on the bottom is now comfortable to 1:00 or 1:10. That extra fifteen to twenty-five seconds is when fish actually approach.
Second, mental calmness during contractions transfers directly to staying still while a fish closes the distance. The first contraction used to be the trigger to pull off the bottom and surface. After table work, the first contraction is just a signal — and you stay locked, weapon ready, until the shot opens. That single mental shift is the difference between empty stringers and full ones.
When to Stop or Take a Break
If you start dreading the sessions, you are pushing too hard. Tables should feel like work, not punishment. If the thought of the next session creates anxiety, back off — drop intensity, drop frequency, take a full week off. The mental side matters as much as the physical.
If your breath-hold stops improving after three or four weeks of consistent work, you have adapted to the current stimulus. Change something — table structure, rep count, hold length, rest interval, time of day, fed vs. fasted, anything that shifts the input. Doing the same protocol forever produces the same result forever.
If you experience any symptom of blackout or near-blackout, stop and take a full week off. Then come back at lower intensity, ideally with instruction.
Get Real Instruction
Reading a blog is a starting point. It is not a substitute for hands-on training with a certified freediving instructor. Strongly consider taking a course through one of the major agencies: AIDA, PADI Freediver, Molchanovs, FII, or SSI. A real instructor will watch your technique, correct your breathing, demonstrate proper rescue and spotter protocols, and walk you through table work in person. The difference between self-taught and instructed is enormous, and on the safety side it can be life-and-death.
Pair Your Training with Smart Day Selection
Better breath-hold only matters when the conditions let you use it. Cold water, low visibility, big swell — they all eat into the comfort window you just spent six weeks building. Pick your dive days carefully. For real-time California condition forecasts that score visibility, swell, current, and water temperature for spearfishing, check conditions.spearfactor.com. Train hard on dry land, and save your dive days for the conditions that actually reward the work.


Comments